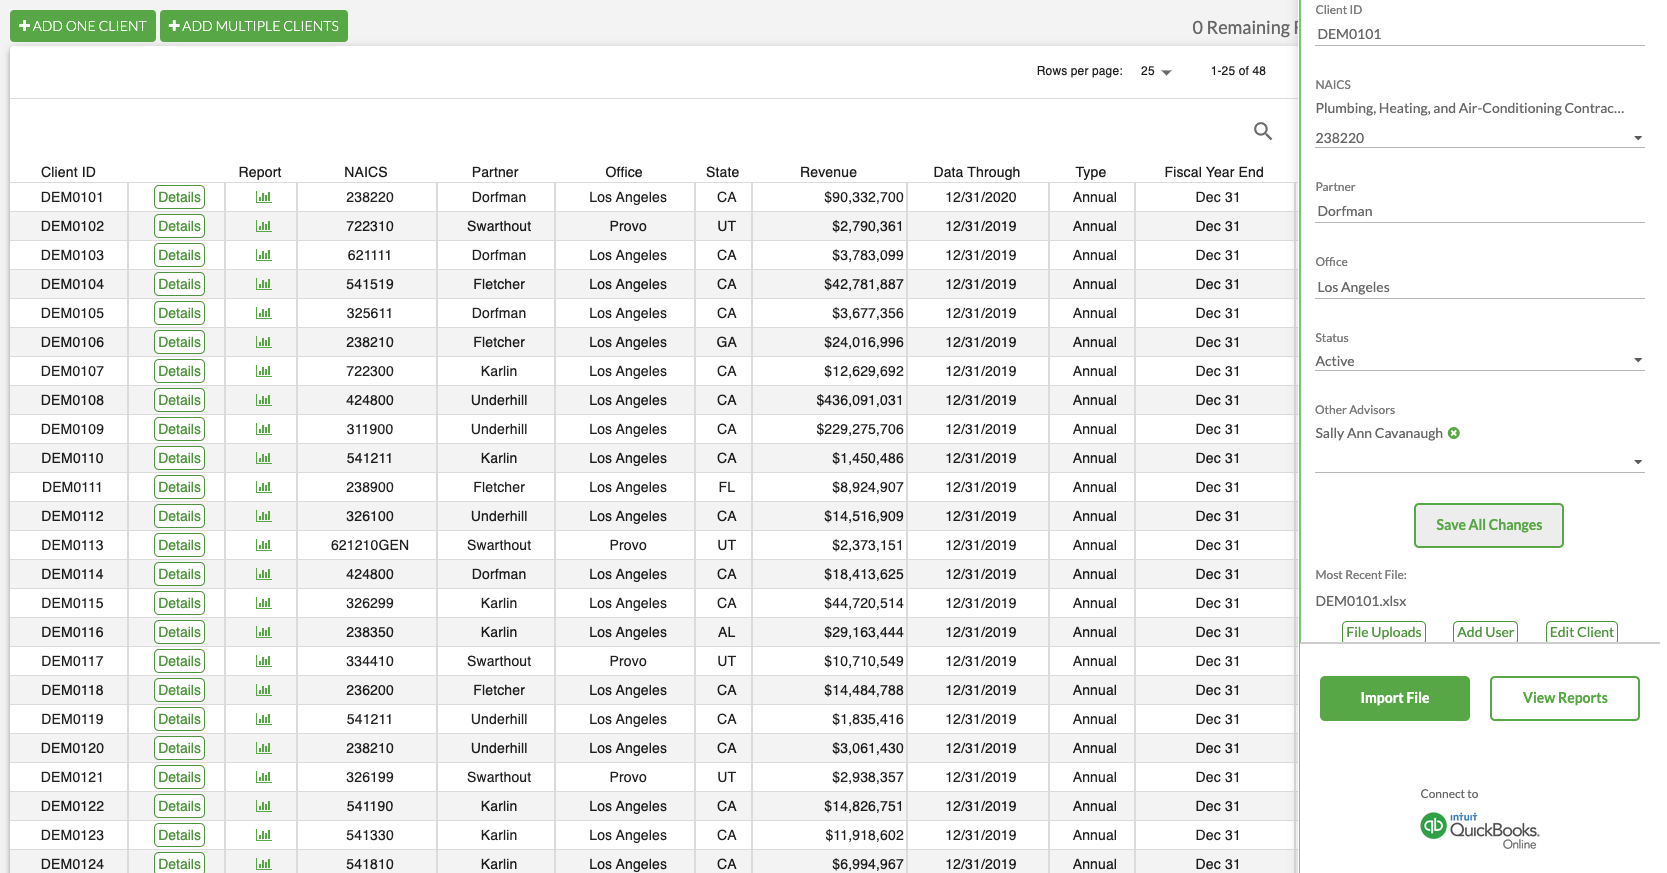

To upload client data, go to the Manage Clients tab in the Peerview app and click the Details button next to the client ID. This should bring up the details of this specific client in the right-hand sidebar as seen below.

Next, click the outlined QuickBooks Online button in the bottom right-hand corner which will bring you to a QuickBooks Online login page. We pull the data from QuickBooks Online on the 16th of each month so that you can have the latest data for your clients. Once you have logged in, you can select which file or files that you want to upload. You will need admin rights to connect to your QuickBooks Online.
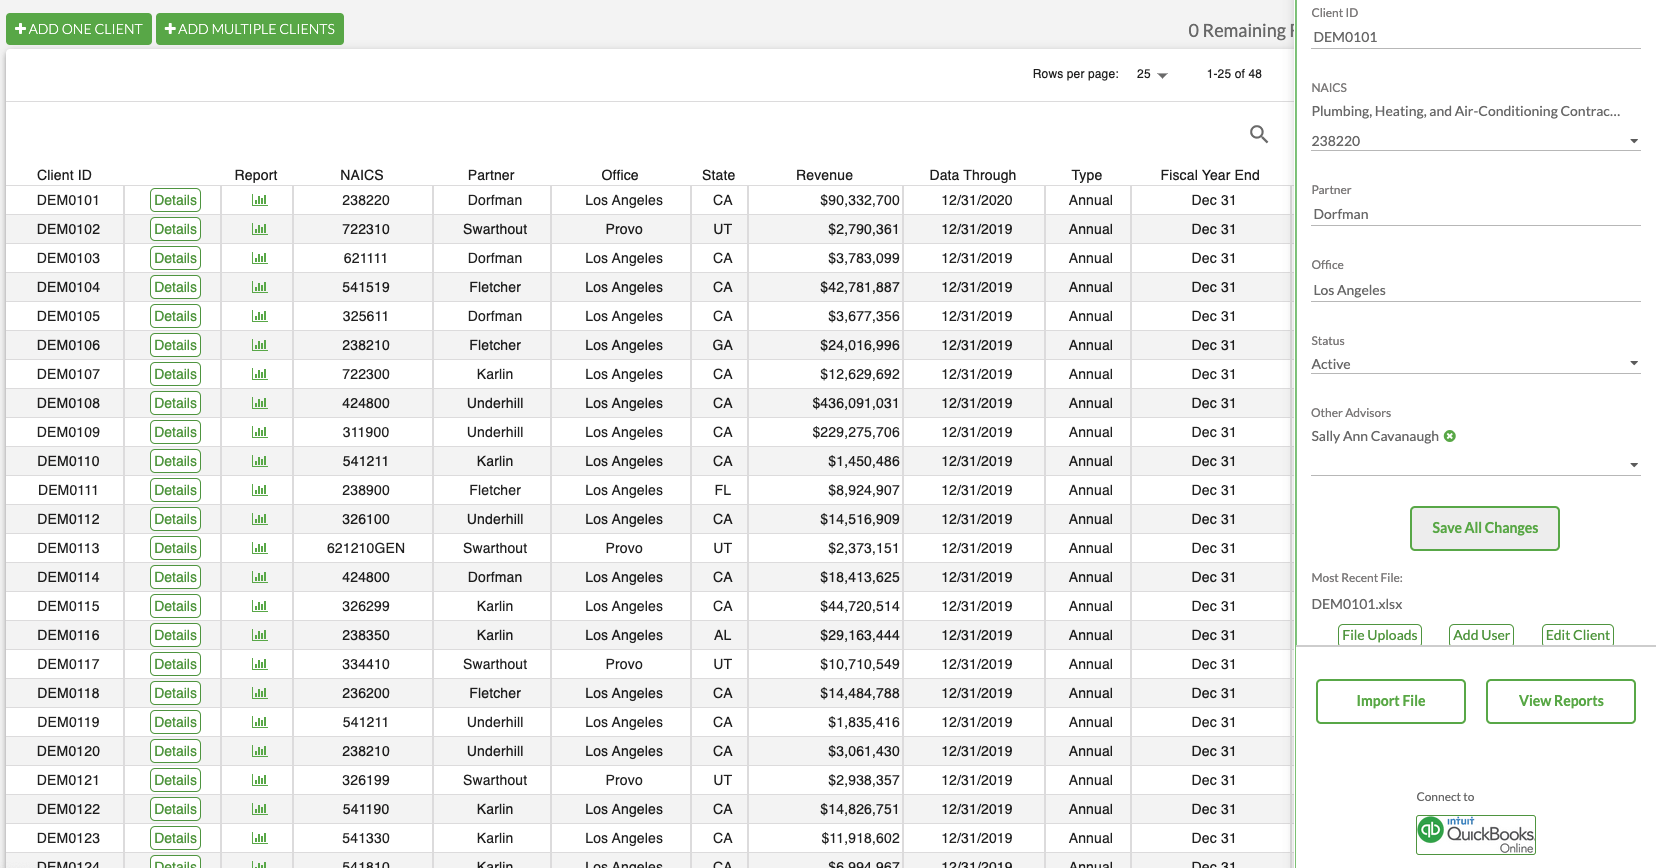
One can also click the Import File button that is displayed in all green in the bottom right-hand corner of the page to upload a client's file directly from your own desktop.